Origami Assay Instructions
Origami assays are different from standard assays in that they are multiplexed. The paper templates used in an origami assay are a tool to simplify the creation of the correct mixtures of samples and double as a physical record of the assay conditions. Below are more detailed instructions on how the assay works. If you have questions, suggestions, or ideas, please email me peter@origamiassays.com
1) Prepare your materials
Assay:
-
Binary: Gives a yes or no answer, such as the absence or presence of a virus. The positive result should be rare too based on the sample population.
-
Sensitive: Sensitive over a wide range of concentrations. Pooling results means that samples will be diluted or present at between 25% to 2% of the concentration.
Samples:
Samples should be collected following the assay protocol and stored so that the original samples can be retested later to verify true positive results.
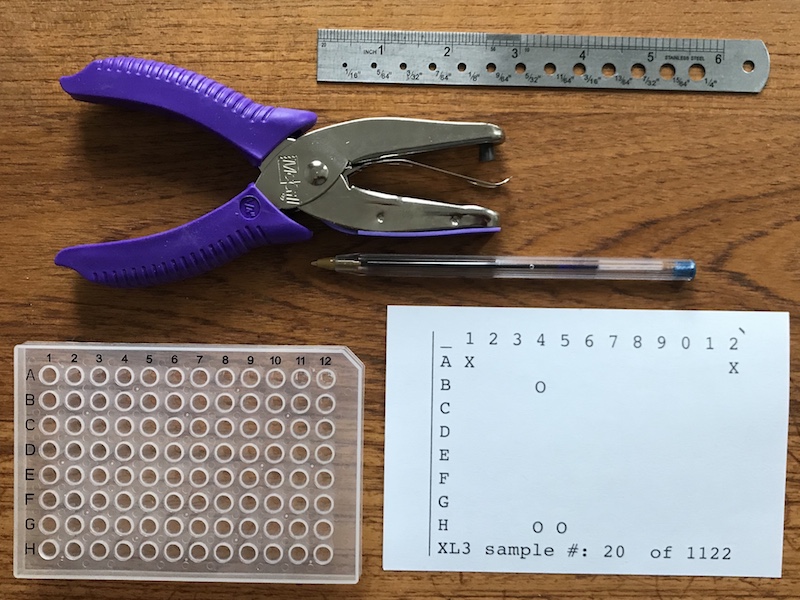
Paper Supplies:
-
Blank 4 x 6 inch index cards. These are standard office supply sheets. Note that you can use larger sheets of paper, but they will require trimming.
-
Ruler and pen. A ruler is handy for making folds and a pen is used for labeling the sheets.
-
Hole punch
-
Ideally a long reach 1/4 inch hole punch such as this one.
-
If not available, can use a standard office punch on the edge holes, and a blade to cut the inner holes.
-
Gloves and mask:The assay templates can be made well in advance in a relatively clean environment. To reduce the chance of contaminating the sheets, the assembly should be done using gloves and a mask on a clean and decontaminated surface.
2) Decide which design to use
For our case, we will be using the M3 design template--a PDF of the template is below:
3) Download and print the PDF for the selected design
Once you have selected a design, download the PDF file associated with the design. A few notes about the PDF file:
-
The PDF is designed to be printed onto 4 x 6 inch index cards
-
Important: When printing, be sure to scale the design to 100% so that it will match the scale of the standard 96 well plate.
-
It is possible to print the 100% scaled PDFs on a larger sheet of paper and trim the excess edge if that is the only material available.
To confirm that the print is correct, print out a single sheet and overlay it with your 96 well tray to ensure that the “X”s and “O”s align with wells.
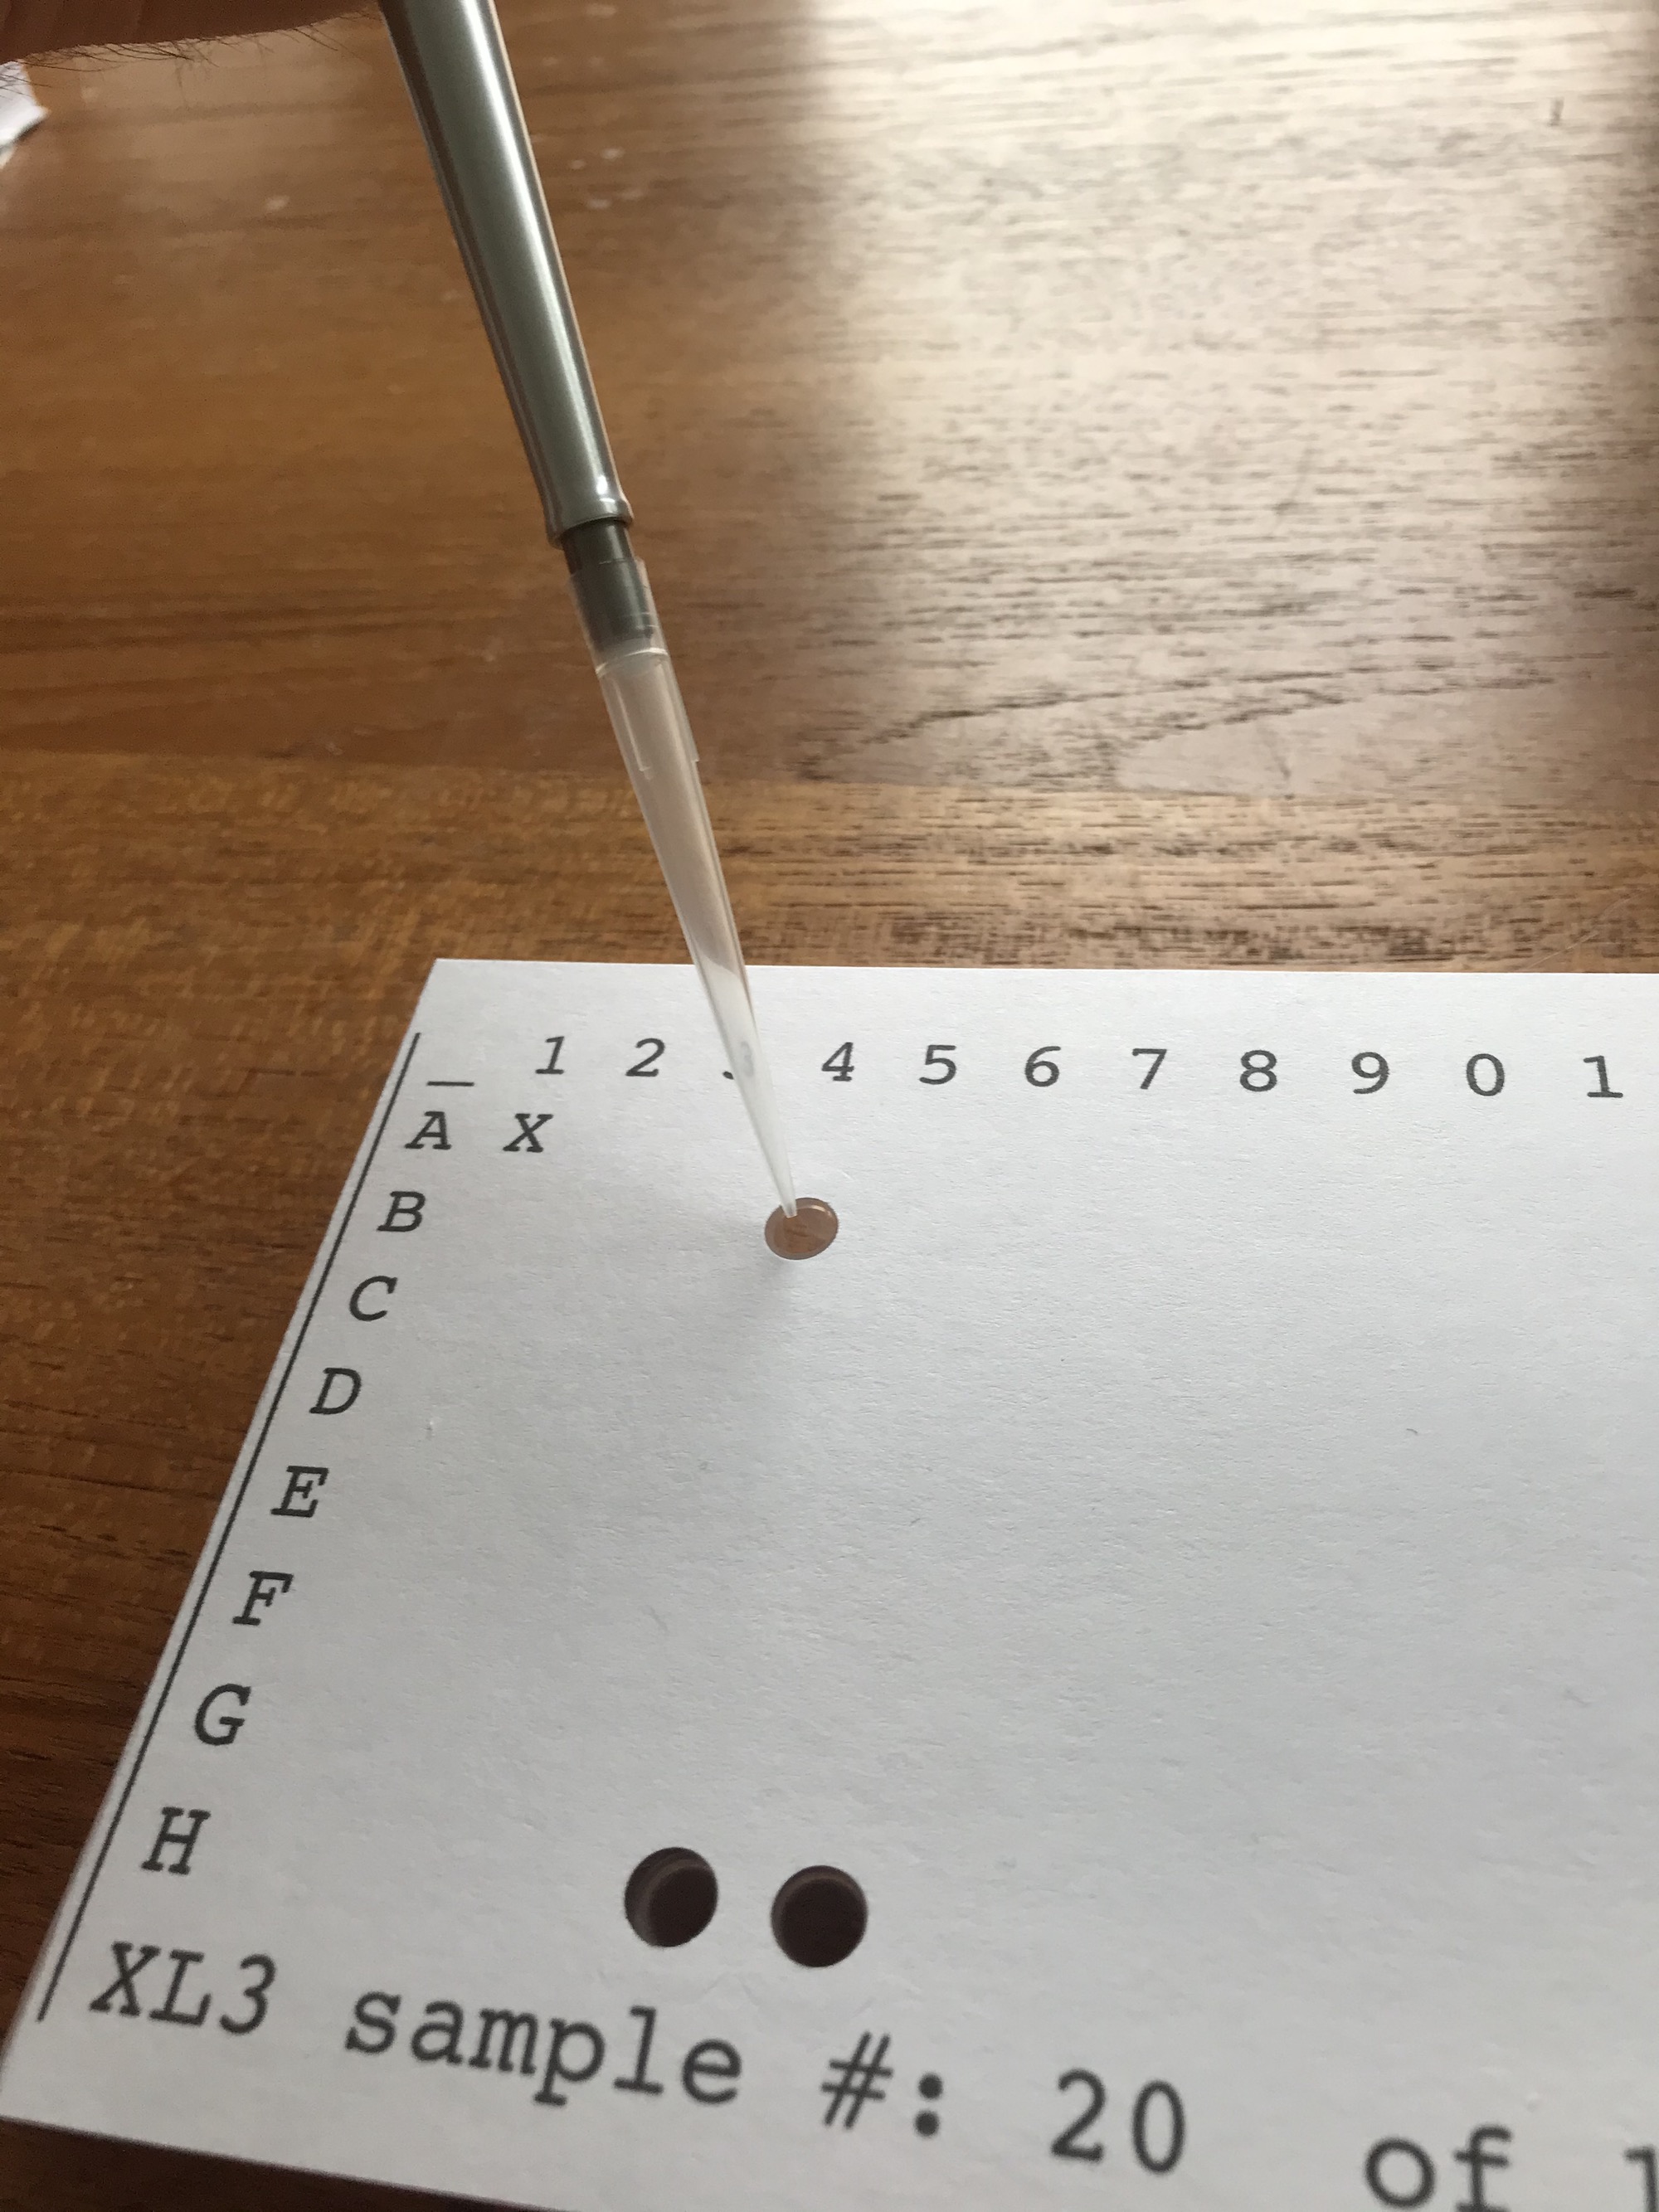
4) Punch, label, and fold the templates
The printed sheets contain the following information:
-
96 well rows (letters A-H) and numbers (1-12 with 12 abbreviated as 2): The numbering scheme matches the standard 96 well plate.
-
Design name: Each design has a name such as XL3 or S3, listed on the sheet.
-
Sample identifying number: When decoder anayzes the assay result, it will return a list of these sample numbers that map to the original sample.
-
“X”s: The upper left and upper right have Xs that correspond to the position of the standard positive and negative controls. For all of the multiplex designs, these two wells are reserved as quality control wells.
-
“O”s: These are the locations of the wells that should be loaded with the numbered sample.
-
Lines: There is a line along the left edge and a second line along that runs diagonally along the upper right corner. These lines are fold guides to help align the sheet on top of the 96 well tray. Note that the upper right line may be partially or fully cut off by your printer.
To prepare the sheet you will need to do the following:
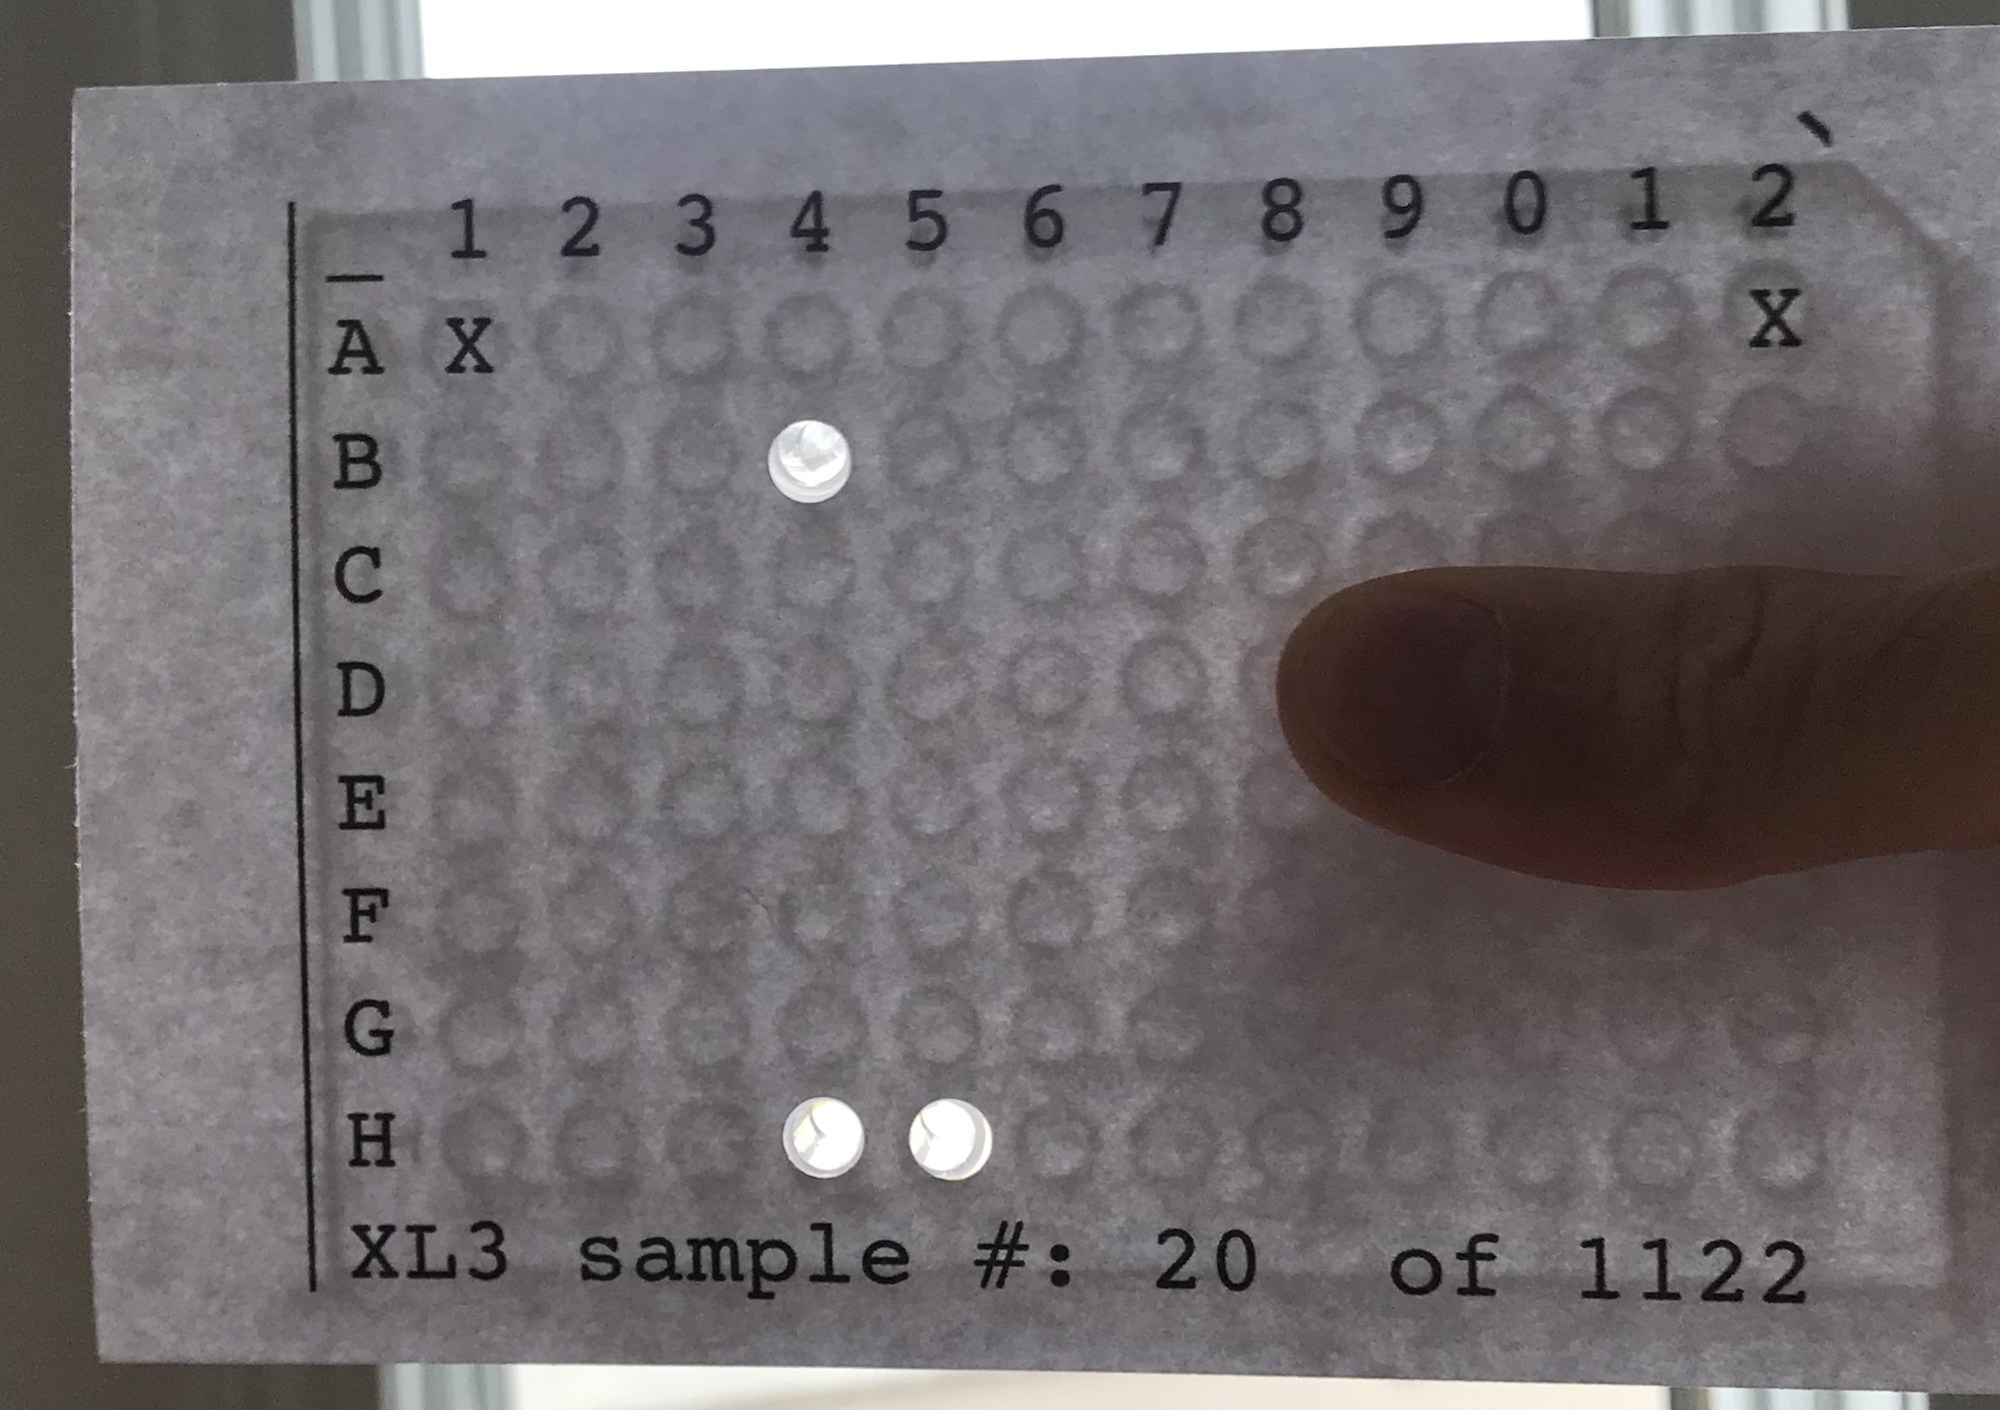
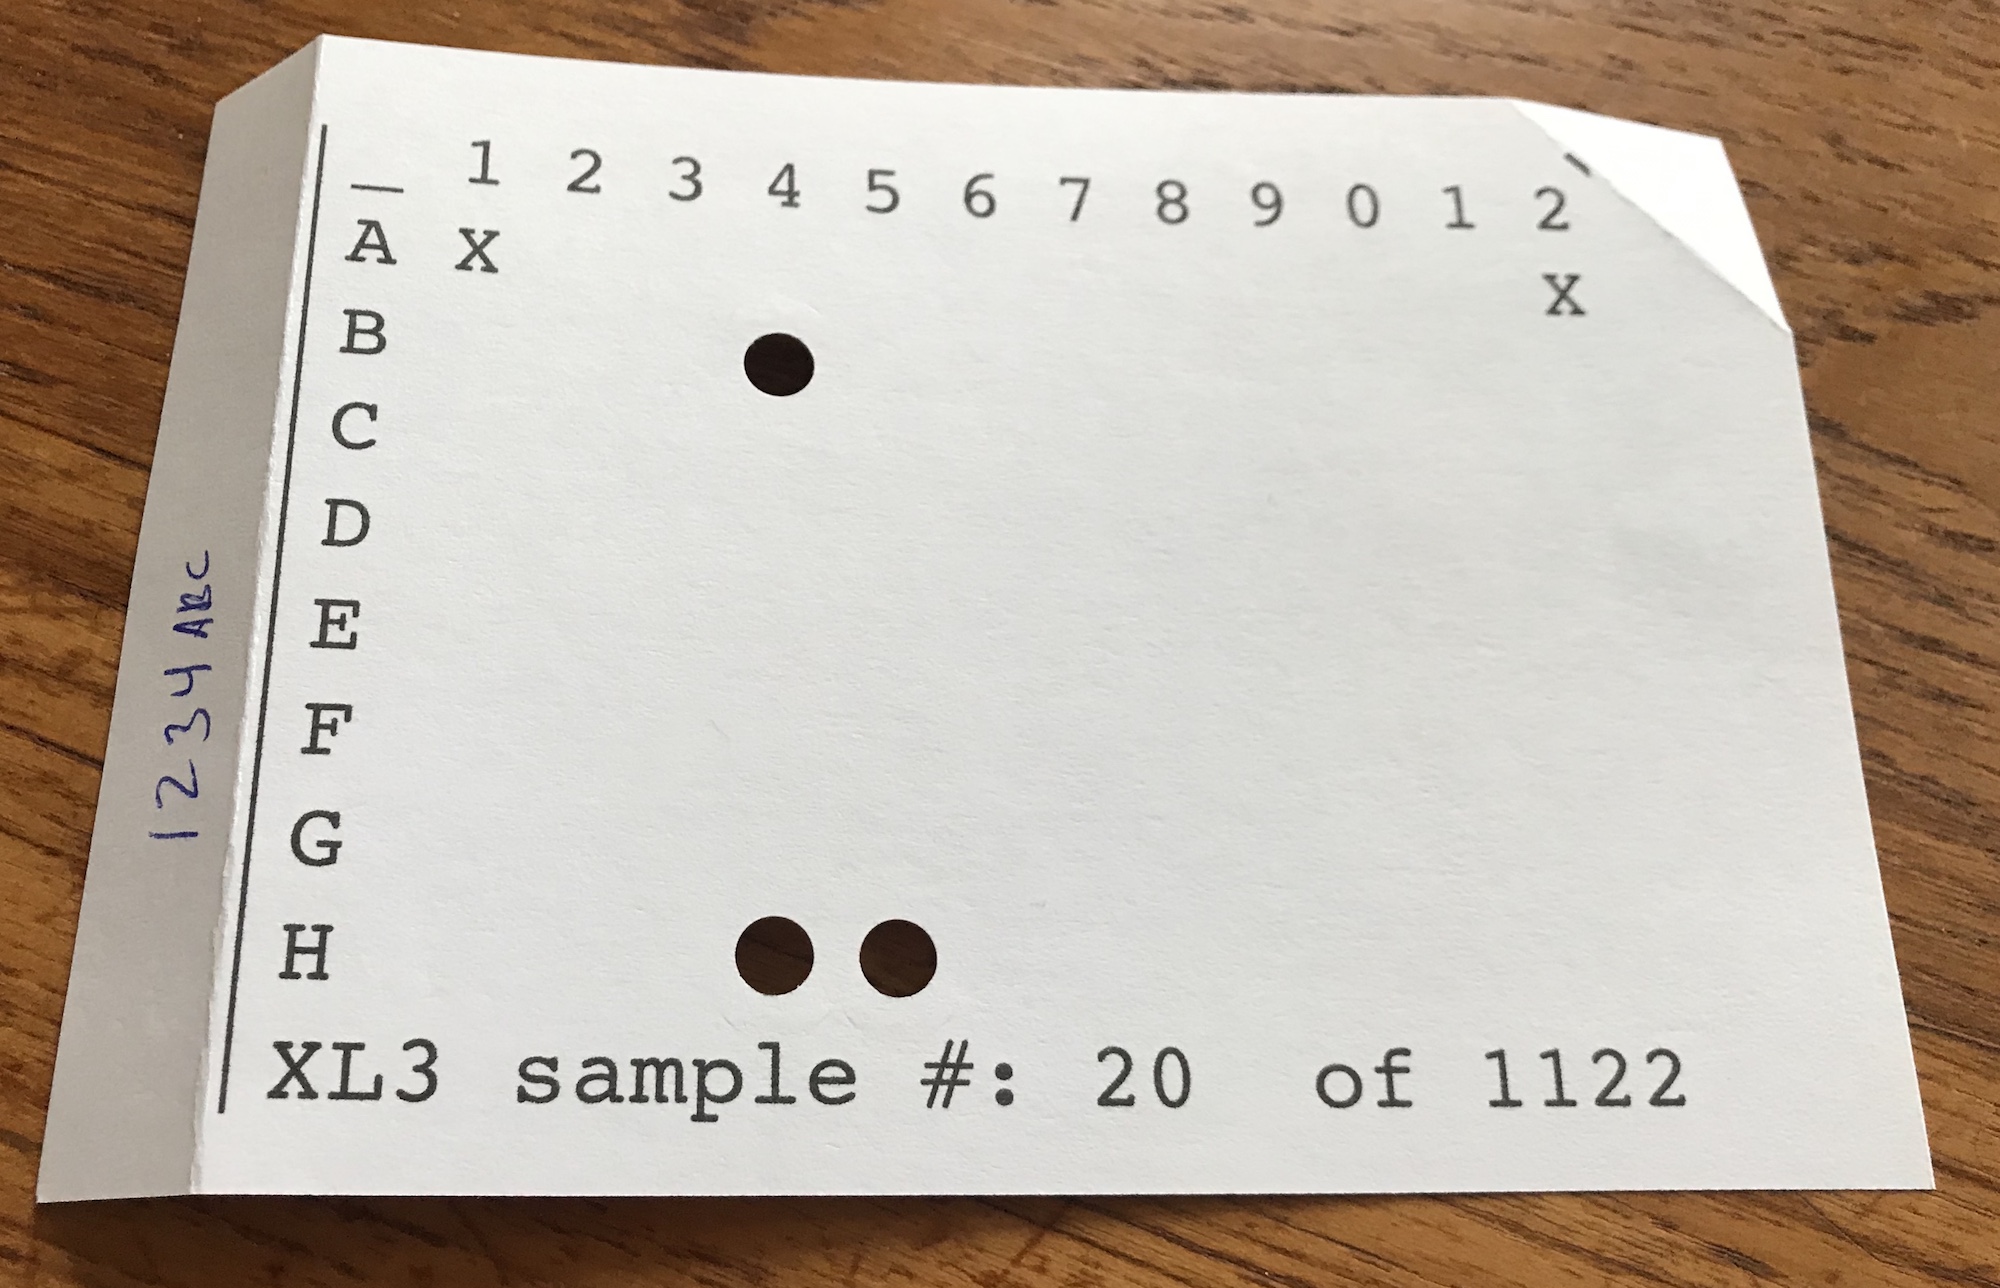
Punch: Use a 1/4 inch hole punch to punch out the “O”s to allow sample to be pipeppeted through the card. The “O”s near the edge can be punched with a standard office punch, but reaching the “O”s in the center requires the long reach hole punch.
Alternatively, the “O”s can be cut out using a blade (xacto or box cutter or even a sharp knife), but that will take longer.
Label: Label the sample directly on the sheet along the left line. By labeling the card directly, each sample can be mapped to the original source. Ideally sheets should only be used once to prevent cross-contamination, so the template sheets themselves act as a record of the assay result.
 Fold:
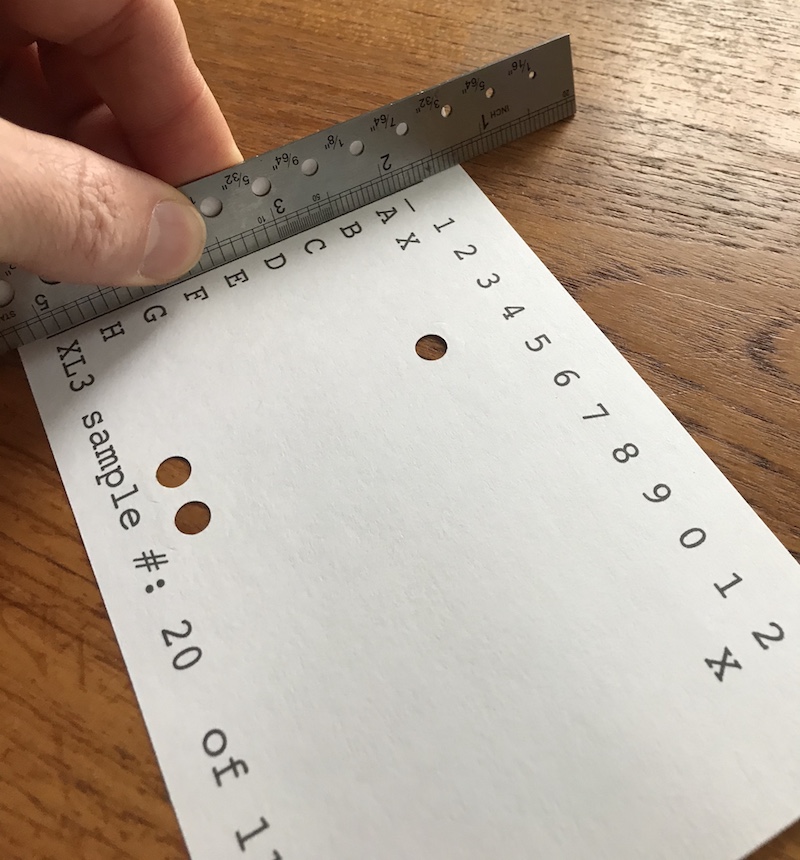
Fold: Fold the sheet up along the left line and the upper right angle to match the contours of the 96 well plate. The easiest way to make this fold is to use a squared off ruler as a guide and fold the paper up along the line. Once the crease is made, then fold the paper back down so that the printed face is up. After the sheet is creased it can be stacked flat and stored until needed.
Note that the templates can be made in advance in a clean environment and stored indefinitely in a plastic bag until ready to use.
5) Use sheets as guide for distributing samples
When enough samples are collected, the technician running the assay can use the sheets as a pipetting template for the assay. For each sample, the technician will distribute 3,4, or 5 replicates of each sample to different wells on the tray, depending on the assay design.

Note that because each assay is a mixture of samples, the sample volume allocated for each well will be lower. The scaling factor depends on how many samples are pooled in each well, depending on the assay used. As an example the smallest asasy (S3) creates pools of 4 samples per well, so the sample size should be 25% (1 in 4) of the normal. While the XL3 pools 36 samples per swell, so the sample size should be 2.7% (1 in 36).
Note too that if the assay is not run on a 96 well plate, the multiplexing scheme can still be used as a guide for allocating to tubes labeled with A-X and 1-12. Once a sample is added to a mixture, the “O” can be crossed out to indicate that the sample has been added.
6) Run assay
Run the assay following the manufacturer instructions.
7a) (software) Decode assay
The assay will produce a series of positive and negative calls for each well on the 96 well plate. Upload these calls to the site here for decoding. The wells can be typed out or filled out as checkboxes.
The decoding process will then call which samples are possible positive results, if any. In addition, the software will analyze the number of false positives that the multiplexing could have induced depending on the assay result. In general, the fewer positive assay well results will mean fewer called positive samples and fewer false positives.
7b) (manual) Decode assay
If for some reason the software is not available, or if you prefer to do the work manually, then you can decode the assay with paper and pen. To decode, look at the list of samples present in each well as listed in the design description.
For the first positive well, write down the ID of each sample onto a list and place a single tick mark next to the sample ID. For subsequent wells, look at the sample list and see if any of the sample names have been repeated. If they are repeated, add an additional tick mark next to the sample ID. If the well has a new sample ID, write that sample ID down in the list and place a single tick mark next to it.
After you have counted all of the hits for all of the sample IDs in the positive wells, highlight the samples that have the same number of ticks (hits) as the design has replicates. These samples with a high hit count are called as positives. As an example, the S3 assay design has three replicates for each sample ID. Thus for the S3 design, we expect that any positive sample would be identified with three tick marks corresponding to three hits. Samples with fewer than the maximum hits are unlikely to be positive, as the positive results of each well can be caused by any one of the samples in the well being positive.
8) Validate positive results
Depending on the true positive rate, multiplexing can sometimes produce false positive results. These false positive rates will be noted in the decoding results. Depending on how the assay results will be used, positive samples can be retested in a follow up validation test done in a monoplex design. A monoplex design is used for validation because this pool is expected to have a high positive rate, and therefore does not benefit from multiplexing.